Install LAMP Server using the EC2 User Data Script
Hi Friends,
This article covers full step by step instructions on How to Install LAMP on AWS EC2 Instance in 4 Easy Steps.
This article will help you install an Apache web server with PHP 7 and MariaDB
(a community-developed fork of MySQL) support on your Amazon Linux 2
instance (sometimes called a LAMP web server or LAMP ). You can use this
server to host a static website or deploy a dynamic PHP application
that reads and writes information to a database.
Below is the link to the best source out there for installation of a LAMP stack on Amazon EC2 Instance. This is the official Amazon article.
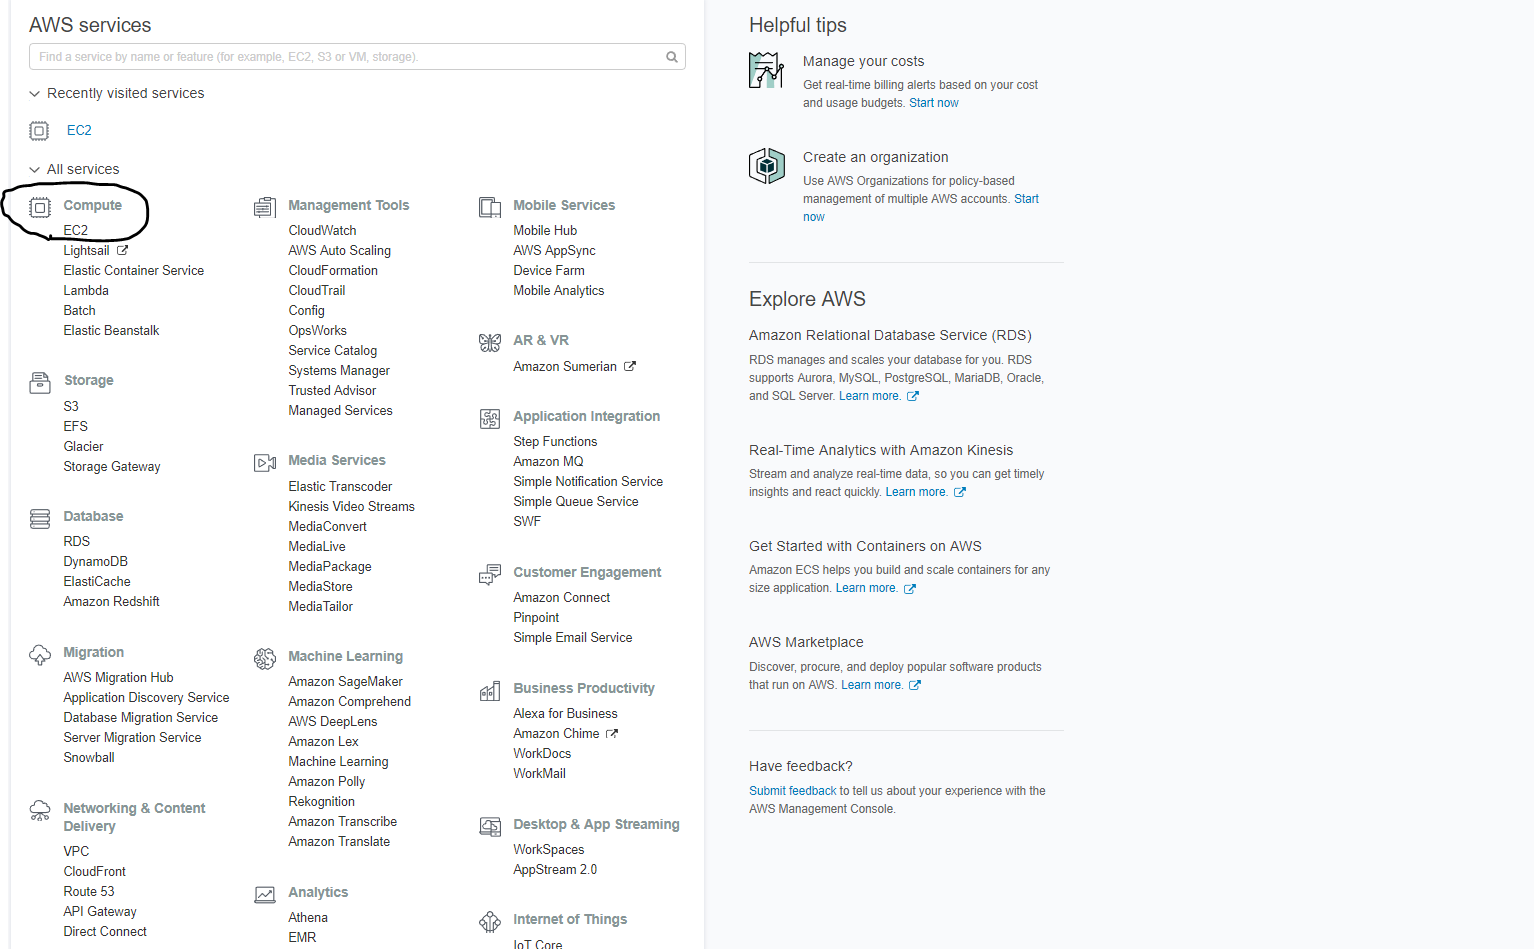
To start with you need to create an EC2 Linux instance via Amazon Web
Services. Log in to your AWS account and from the web console chose EC2
under the Compute heading.
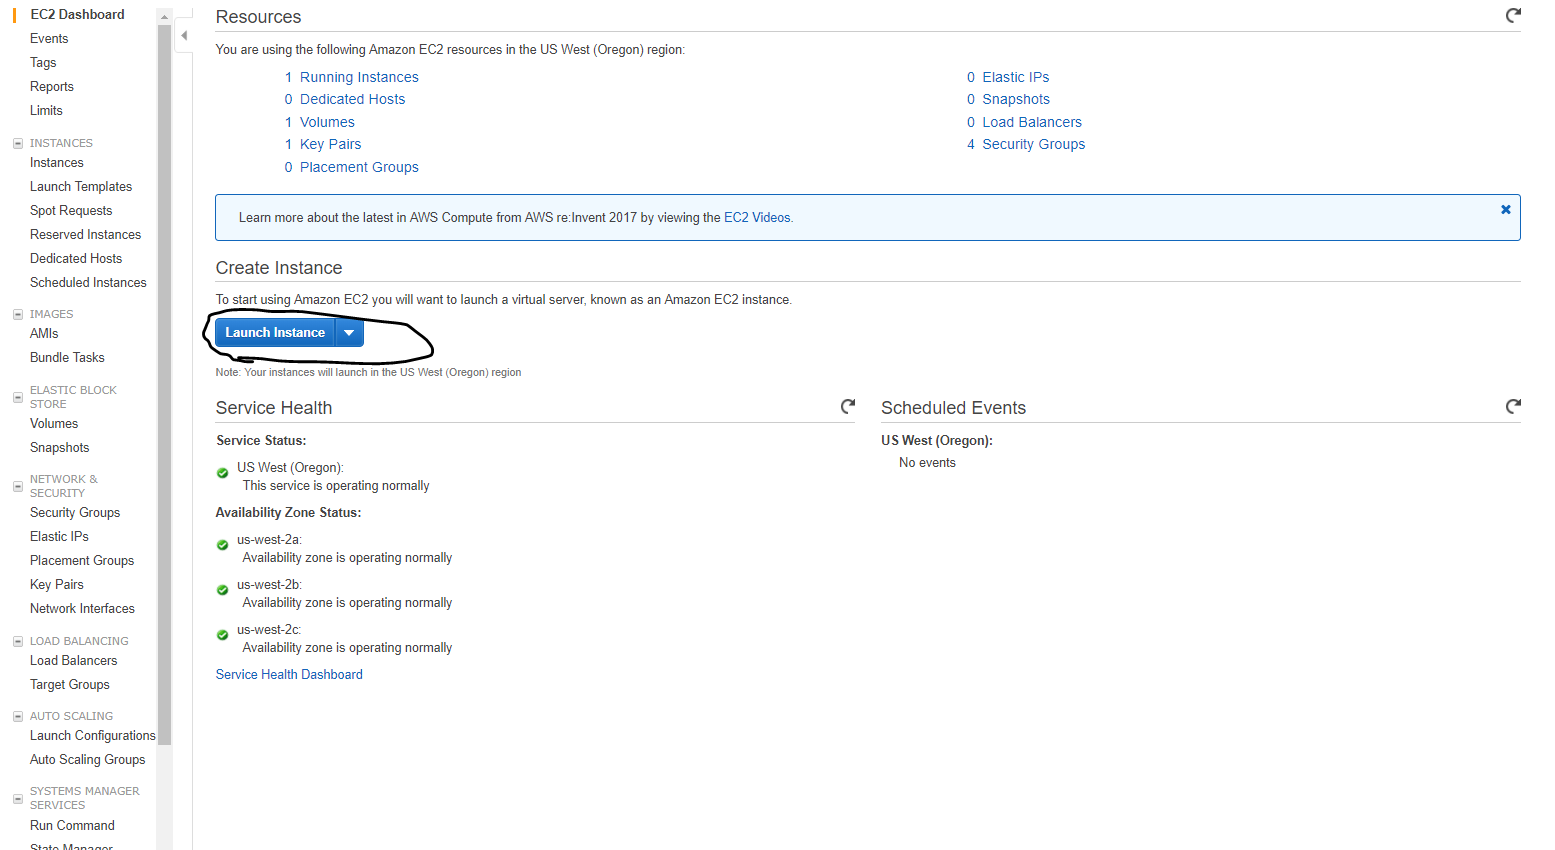
From within the EC2 dashboard, you need to select Launch Instance.
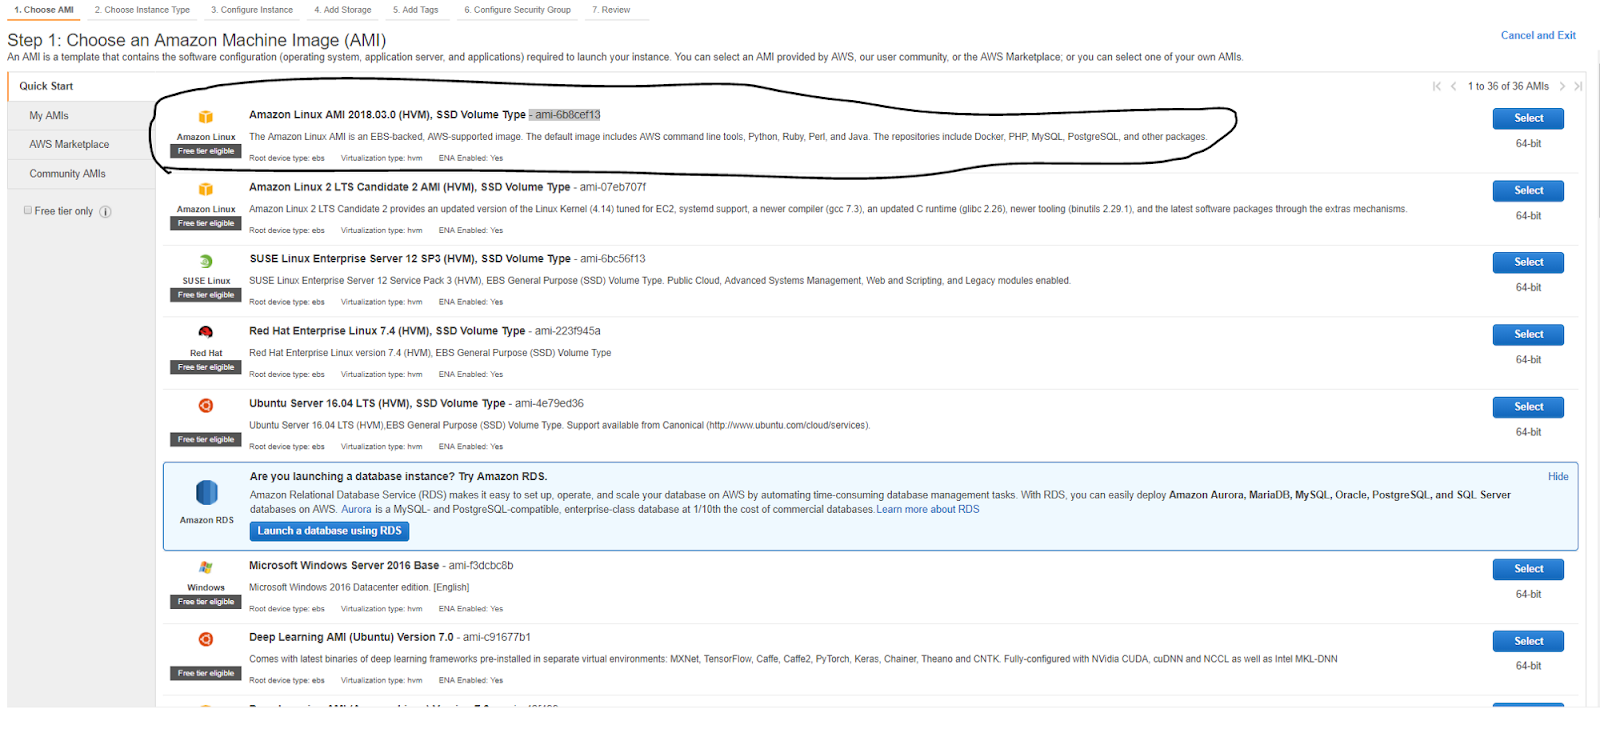
A set up wizard should begin in which the user selects an Amazon
Machine Image or AMI and then configures it. First, Step 1 allows the
user to select the image. Choose the option titled Amazon Linux AMI
2018.03.0 (HVM), SSD Volume Type — ami-6b8cef13. It should be covered
under the free tier choices.
Choose an Instance Type. Choose the version titled “t2.micro” under
“Type” column. It should have the subtext stating it is “Free tier
eligible”. It may be selected by default. Once the Instance Type is
selected, click “Next: Configure Instance Details” down in the bottom
right of the wizard.
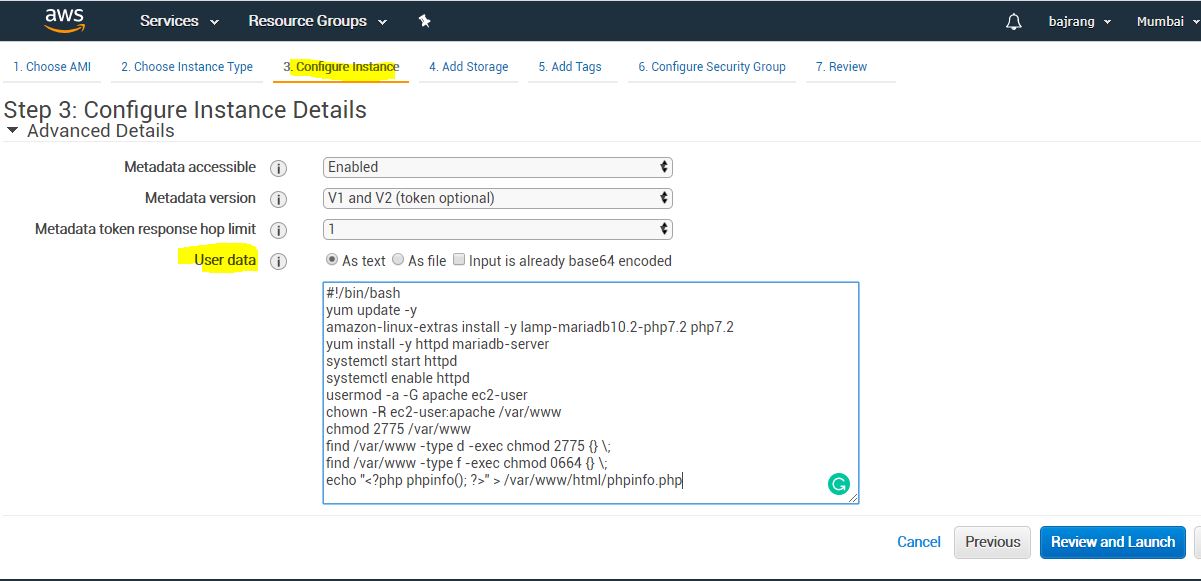
Enter the below commands in the User Data Scripts
#!/bin/bash
yum update -y
amazon-linux-extras install -y lamp-mariadb10.2-php7.2 php7.2
yum install -y httpd mariadb-server
systemctl start httpd
systemctl enable httpd
usermod -a -G apache ec2-user
chown -R ec2-user:apache /var/www
chmod 2775 /var/www
find /var/www -type d -exec chmod 2775 {} \;
find /var/www -type f -exec chmod 0664 {} \;
echo “<?php phpinfo(); ?>” > /var/www/html/phpinfo.php
Next, choose add rule, then select HTTP from the Type drop-down menu and
again “Anywhere” under the source column. After that, select Add Rule
again, and this time chose

The instance can take a while to configure, but once its finished select
View Instances from the bottom right to view your own instances and
some of their configurations.
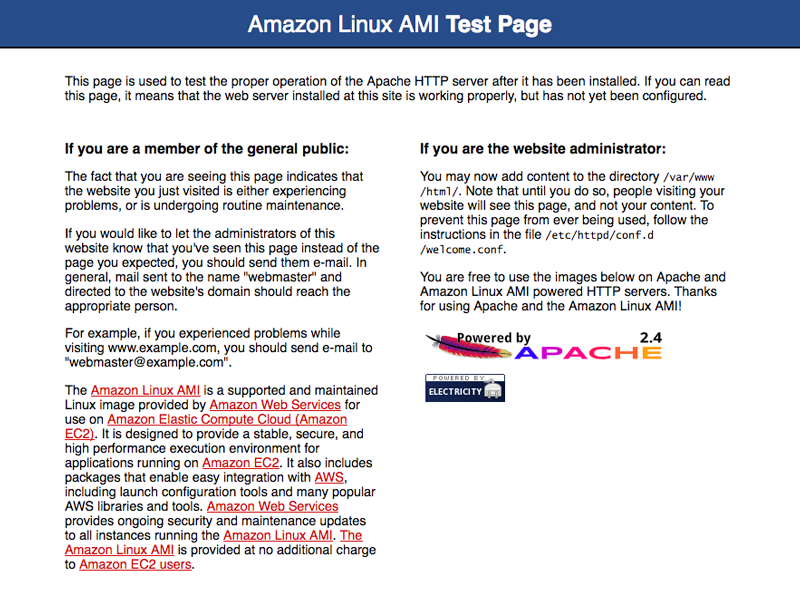
In a web browser, type the URL of the file that you just created. This
URL is the public DNS address of your instance followed by a forward
slash and the file name. For example:
http://my.public.dns.amazonaws.com/phpinfo.php