SSH vào VPS với tài khoản root và cài đặt Wireguard VPN với lệnh sau.
wget https://git.io/wireguard -O wireguard-install.sh && bash wireguard-install.shNếu VPS / Server của bạn có nhiều IP mạng, nhớ chọn IP Public của VPS.
Which IPv4 address should be used?
     1) 5.196.89.40
     2) 172.17.0.1
IPv4 address [1]: 1
Tiếp theo nhập thông tin theo yêu cầu của script cài đặt.
## Chọn port, bấm Enter để giữ nguyên port mặc định 51820
What port should WireGuard listen to?
Port [51820]:

## Chọn tên
Enter a name for the first client:
Name [client]: kahavpn

## Chọn DNS Server
Select a DNS server for the client:
   1) Current system resolvers
   2) Google
   3) 1.1.1.1
   4) OpenDNS
   5) Quad9
   6) AdGuard
DNS server [1]: 2

WireGuard installation is ready to begin.
Press any key to continue...
## Bấm nút bất kỳ để tiếp tục
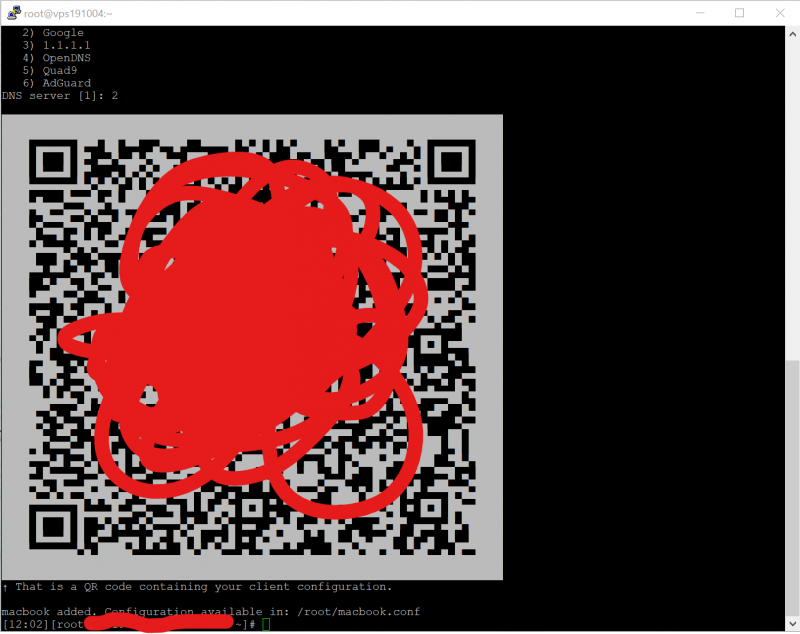
Đơi khoảng vài phút cho script cài đặt và cấu hình Wireguard VPN tự động cho bạn. Sau khi hoàn tất, bạn sẽ nhận được thông báo như sau.

[QR Code]
↑ That is a QR code containing the client configuration.

The client configuration is available in: /root/kahavpn.conf
New clients can be added by running this script again.
Tạo thêm tài khoản client
Bạn có thể chạy lại lệnh cài đặt thêm lần nữa để tạo thêm nhiều tài khoản mới.
wget https://git.io/wireguard -O wireguard-install.sh && bash wireguard-install.shHệ thống sẽ tự động nhận ra WireGuard đã được cài đặt và hiện thông báo như dưới đây. Chọn 1 để tạo thêm client mới, 2 để xoá client hiện có, 3 để xoá WireGuard và 4 để thoát ra
WireGuard is already installed.

Select an option:
   1) Add a new client
   2) Remove an existing client
   3) Remove WireGuard
   4) Exit
Option: Code language: YAML (yaml)
Để xem lại QR Code của tài khoản đã tạo bạn dùng lệnh sau
qrencode -t UTF8 < kahavpn.confNhớ thay thế kahavpn.conf/root
Cài đặt WireGuard Client
Để kết nối với Wireguard Server vừa tạo, bạn cần tải Wireguard Client trên thiết bị cần sử dụng. Wireguard cung cấp client cho mọi hệ điều hành phỏo biến: iOS, Android, Windows, Linux, Mac OS,…
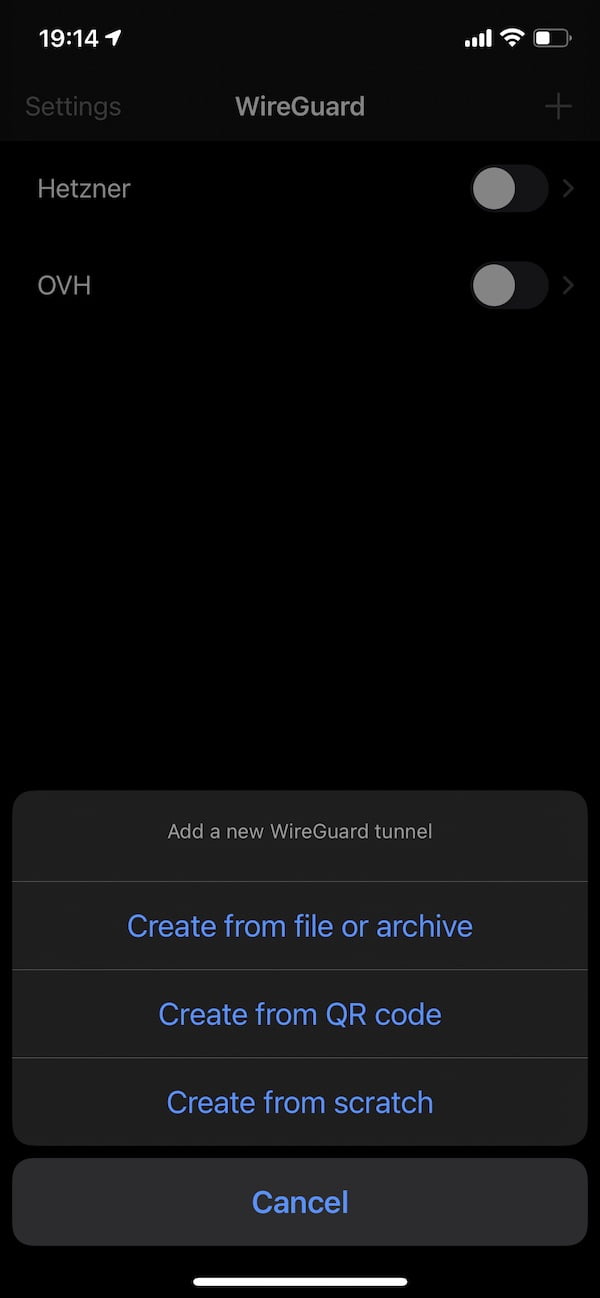
Nhanh gọn lẹ nhất là cài WireGuard client trên iOS / Android thông qua App Store / Play Store. Sau đó bạn thêm cấu hình WireGuard bằng cách chọn Create from QR Code và scan QR Code nhận được ở bước cài đặt trên. Vậy là xong.

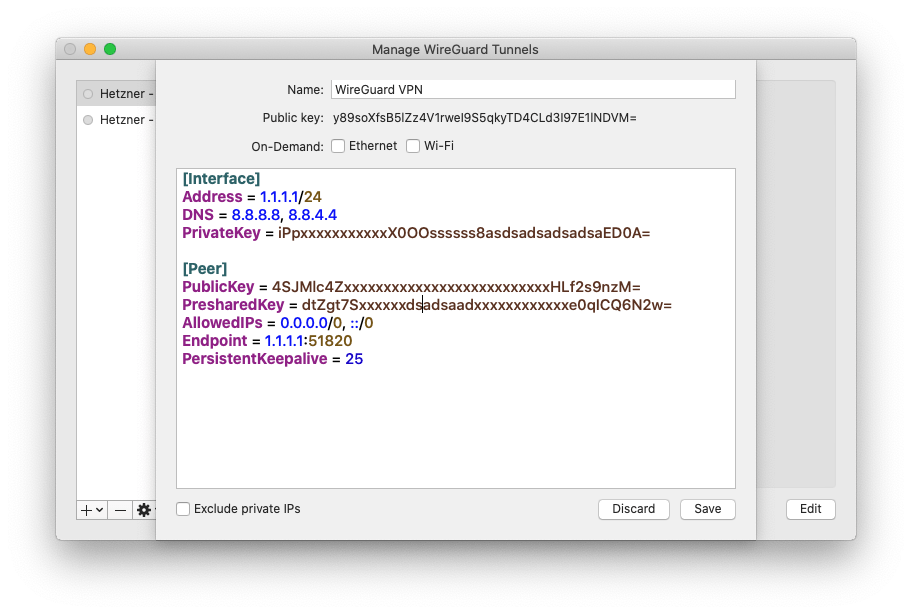
Nếu cài đặt client trên Windows / Linux / MacOS, bạn cần mở file cấu hình vừa tạo ở trên. Chú ý đổi kahavpn thành tên client bạn tạo ở bước cài đặt ban đầu
nano /root/kahavpn.confCopy lại toàn bộ nội dung bên trong và paste vào mục cấu hình trên máy client tương ứng
[Interface]
Address = x.x.x.x/24
DNS = 8.8.8.8, 8.8.4.4
PrivateKey = iPp8KmZQzsxxxxxxxxxxxxxxxxxxxxxz9X0OO8ED0A=

[Peer]
PublicKey = 4SJMlcxxxxxxxxxxxxxxxxxxxxxxxxxxxxf2s9nzM=
PresharedKey = dtZgt7SEElxxxxxxxxxxxxxxxxxxxxxxxxxxxe0qICQ6N2w=
AllowedIPs = 0.0.0.0/0, ::/0
Endpoint = x.x.x.xx:51820
PersistentKeepalive = 25

Vậy là xong! Bạn đã có 1 VPN
(thuanbui)
